


YouTube has become one of the most powerful platforms for content creators to share their stories, skills, and ideas with the world.
However, creating professional-quality videos that stand out requires more than just a good camera—it demands a reliable video editing tool.
CapCut Desktop Video Editor, a free and user-friendly video editing software, has emerged as a go-to solution for creators looking to produce high-quality YouTube videos without breaking the bank.
In this guide, we’ll walk you through the steps to create professional YouTube videos using the CapCut Desktop video editor.
Why CapCut is a Must-have for Creators?
CapCut, developed by ByteDance (the creators of TikTok), is a versatile video editing tool that offers a wide range of features for both beginners and advanced users.
Unlike many premium editing software options, CapCut is completely free, making it an excellent choice for budget-conscious creators.
Because of the following reasons, CapCut is popular among creators:
- Intuitive Interface: CapCut’s clean and straightforward interface makes it easy for beginners to navigate, while still offering advanced tools for seasoned editors.
- Rich Editing Features: From trimming and splitting to adding transitions, effects, and text, CapCut provides all the essentials for professional video editing.
- AI-Powered Tools: CapCut includes AI-driven features like background removal, auto-captioning, and noise reduction, which save time and enhance video quality.
- Cross-Platform Compatibility: CapCut is available for desktop (Windows and Mac) and mobile devices, allowing seamless editing across platforms.
How to Create YouTube Videos with CapCut?
1. Plan Your Video Content
Before starting, it’s crucial to plan your video. You need to define your target audience, choose a topic, and create a script or outline.
You can use tools like Google Trends or YouTube’s search bar to identify trending keywords and optimize your video for SEO.
2. Import and Organize Your Footage
- Open the CapCut Desktop video editor and kick off a new project with your desired settings.
- Add your video clips, images, and audio by selecting “Import” or simply dragging them into the media library.
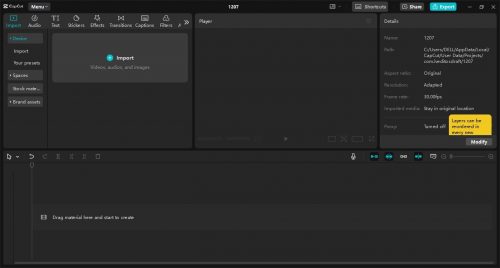
- Sort your media files into organised folders for a smoother editing workflow.
3. Trim and Arrange Clips
- You need to drop your clips onto the CapCut’s timeline to begin the editing process.
- Use the “Split” tool to remove unwanted sections and the “Trim” tool to fine-tune clip durations.

- Organise your clips in sequence to craft a smooth and engaging story.
4. Enhance Video Quality
-
- Color Correction: Use CapCut’s color grading tools to adjust brightness, contrast, saturation, and temperature for a polished look.
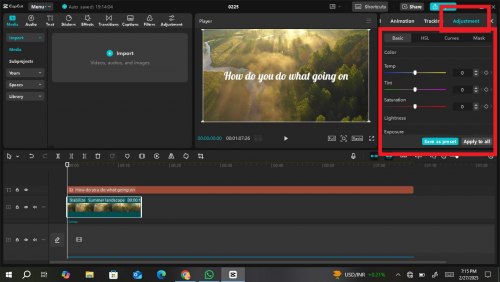
- Filters and Effects: Try applying filters and effects to enhance the visual appeal of your video. CapCut offers a variety of presets to choose from.
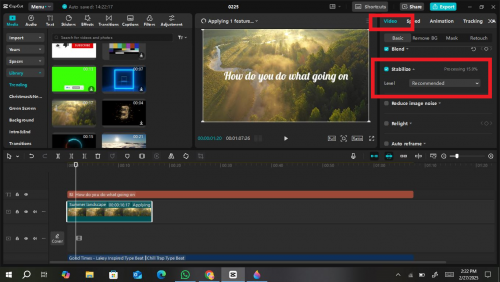
- Stabilization: If your footage is shaky, use the stabilization feature to smooth out the motion.
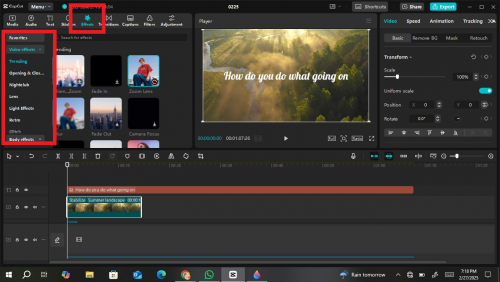
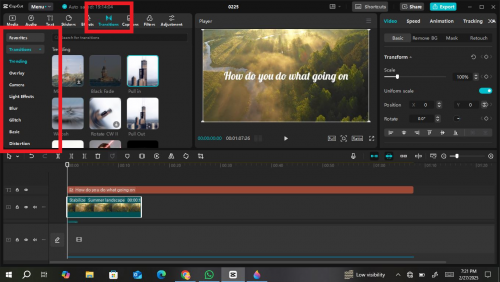
5. Add Transitions and Animations
- Insert transitions between clips to create a seamless flow. CapCut offers a wide range of transition effects, from simple fades to dynamic animations.
- Use keyframes to add custom animations to text, images, or video elements.
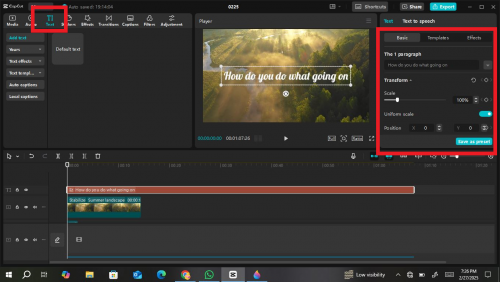
6. Incorporate Text and Titles
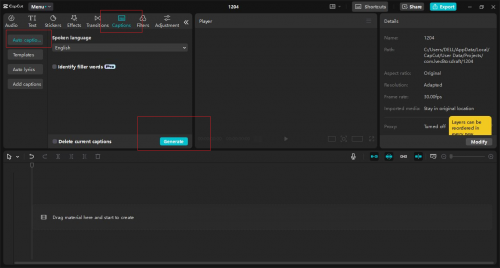
- Click on the “Text” tab to add titles, subtitles, or captions.
- Customize the font, size, color, and animation of your text to match your video’s style.
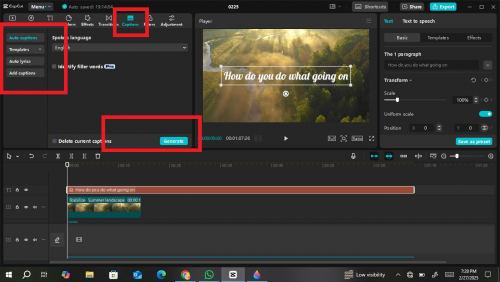
- Use auto-captioning to generate subtitles quickly, which can improve accessibility and SEO.
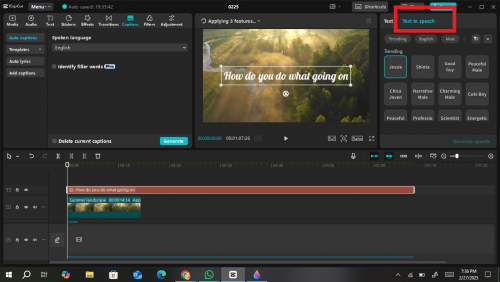
7. Add Background Music and Sound Effects
- Import royalty-free music or sound effects from CapCut’s library AI text-to-speech voiceovers or your own collection.
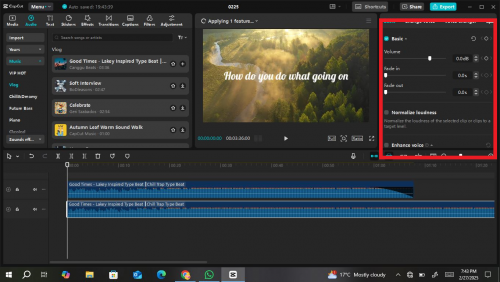
- Adjust the volume levels to ensure the background music doesn’t overpower your voiceover or dialogue.
- You can also use the “Audio Ducking” feature to automatically lower the music volume when speech is detected.
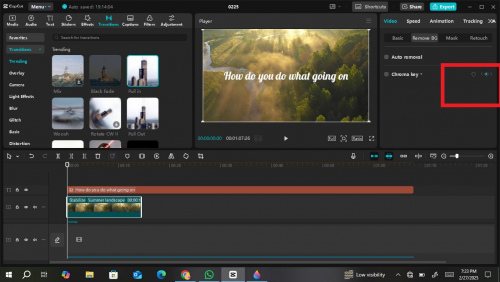
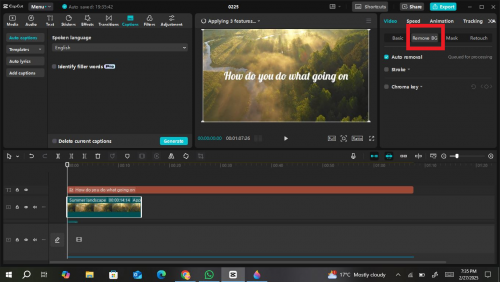
8. Utilize AI Tools for Efficiency
- Background Removal: If you’re creating talking-head videos, use the AI background removal tool to replace your background with an image or video.
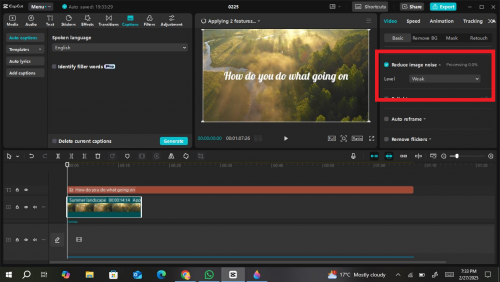
- Noise Reduction: Clean up audio by reducing background noise for a professional sound quality.
- Auto-Captioning: Generate accurate captions with CapCut’s AI-caption generator feature.
9. Export Your Video
- Once your editing is complete, click the “Export” button.
- Choose the appropriate resolution (1080p or 4K) and format (MP4 is recommended for YouTube).
- Optimize the file size to ensure fast upload times without compromising quality.
Final Thoughts
Creating standout YouTube videos doesn’t require expensive software or years of experience. With CapCut Desktop video editor, you have a powerful yet beginner-friendly tool to bring your creative vision to life.
By mastering essential editing techniques and optimising your content for SEO, you can attract more viewers, increase engagement, and grow your channel.
The key is consistency—keep refining your skills, experimenting with new effects, and staying true to your unique style.
So, fire up CapCut, start editing, and share your story with the world. With the right approach, your next viral video could be just one edit away. Happy creating!


